What Kind of Creature?
Creating 3D Animated Creatures for Fictionalized Landscapes
Miami-Dade County Public School Teachers
About the Workshop
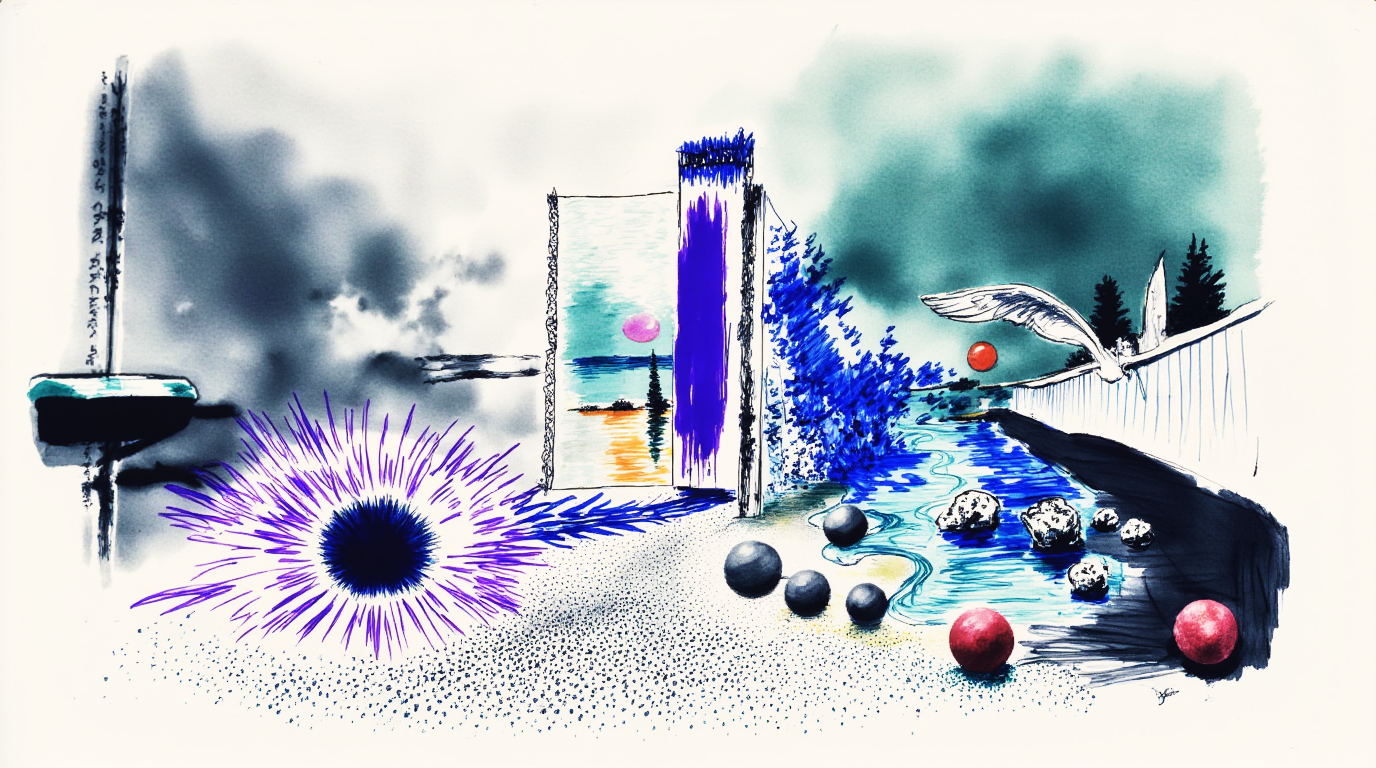
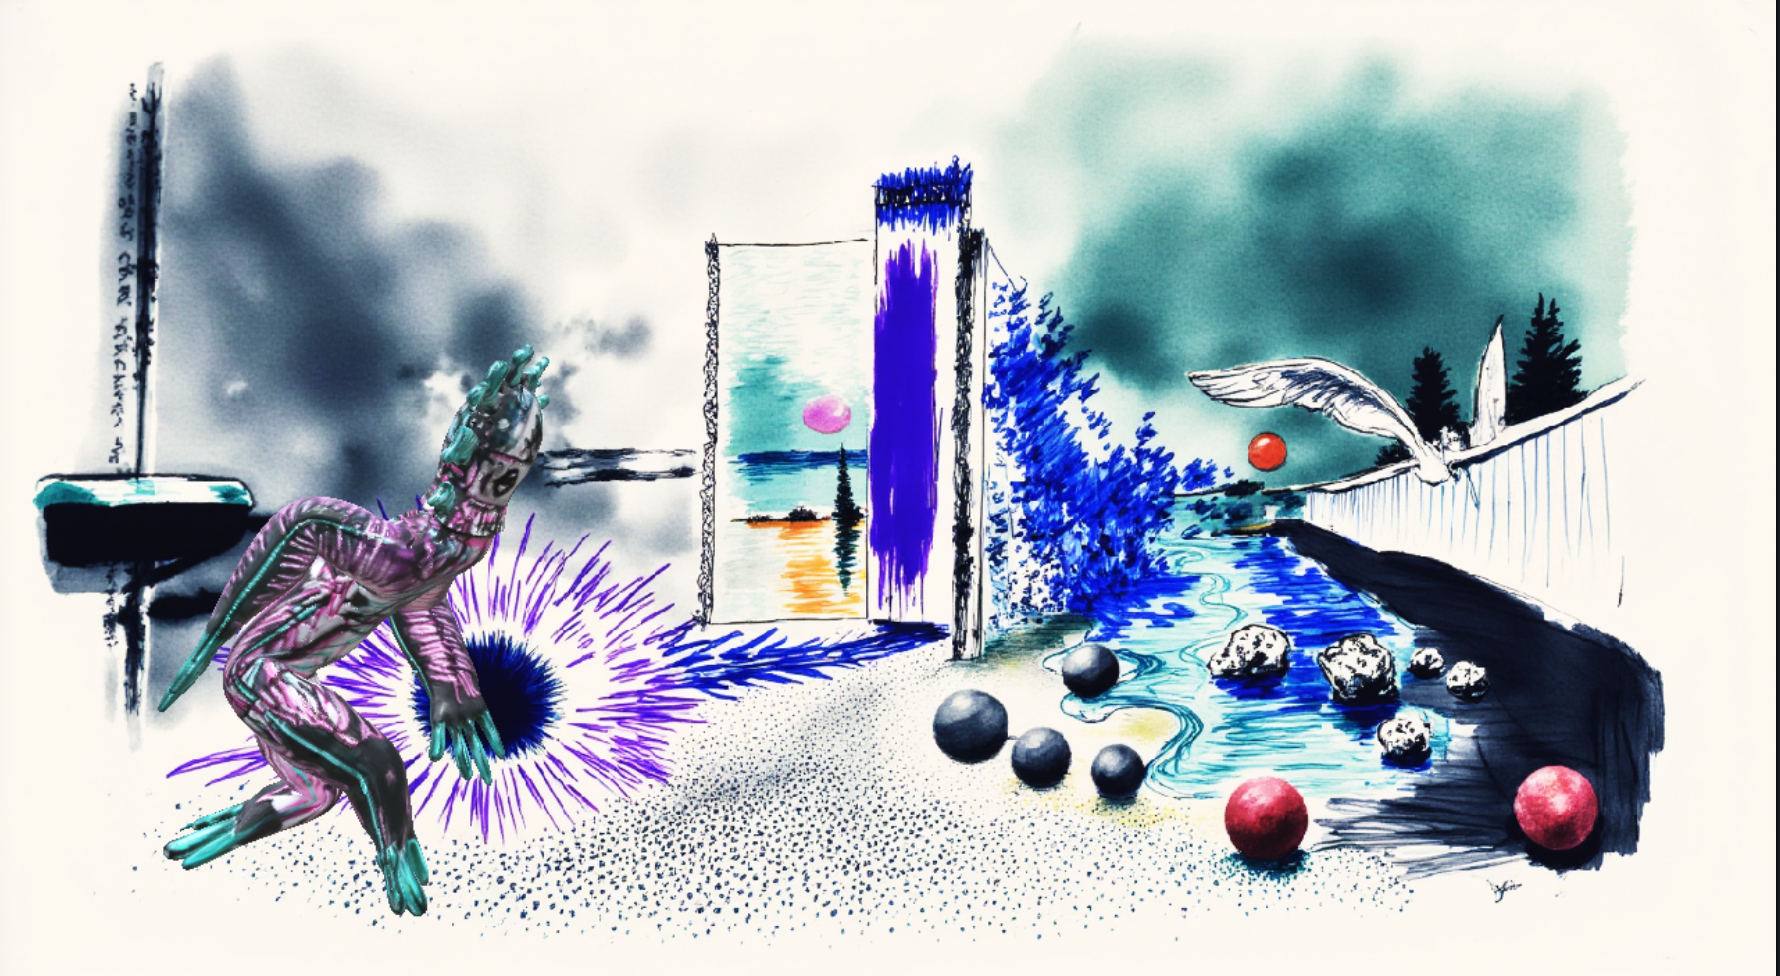
Teachers explore how paper sketches, digital drawings, iPad sketches, Photoshop compositions, marker textures, and drawn designs can become living forms in augmented reality. We begin with imagined environments, design creatures through sketching and layered textures, then use phone or tablet tools to generate simple 3D forms. The result is an animated GLB that can be viewed in AR in the classroom.
What You Will Learn
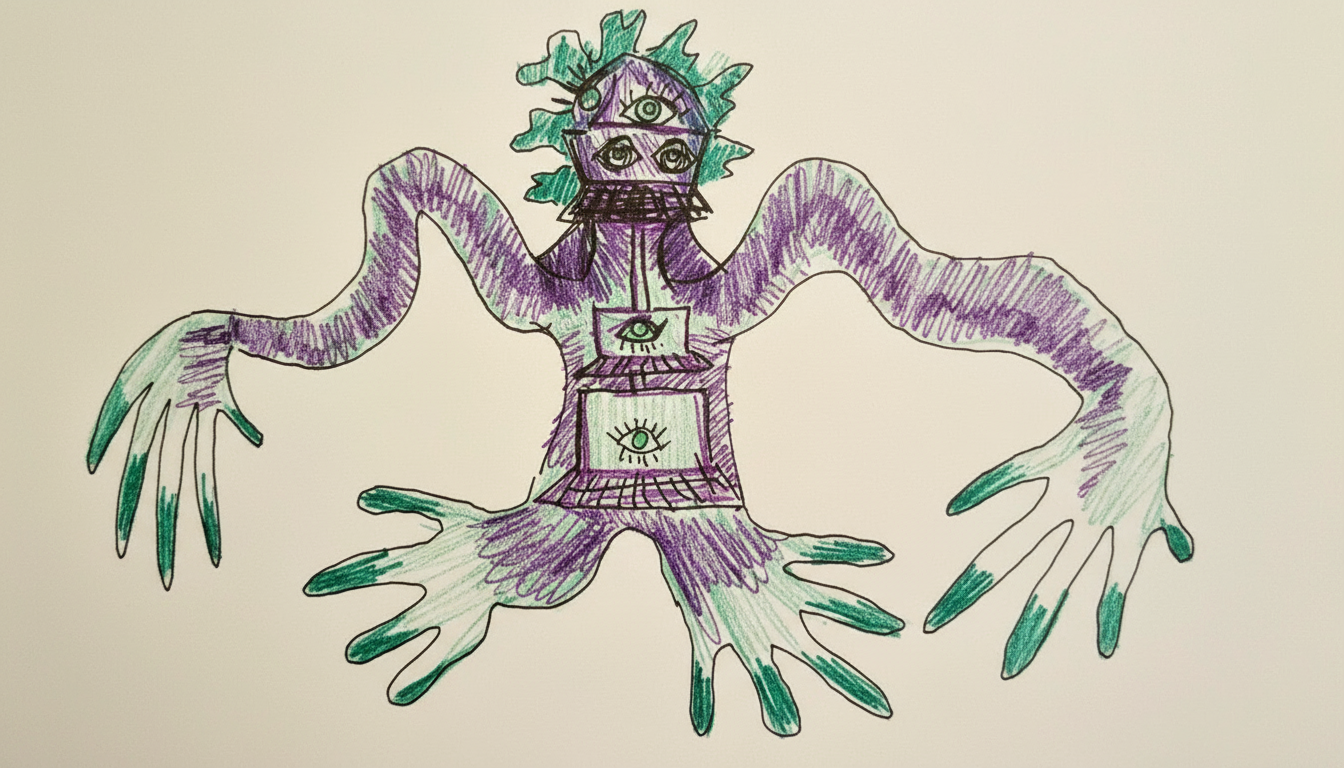
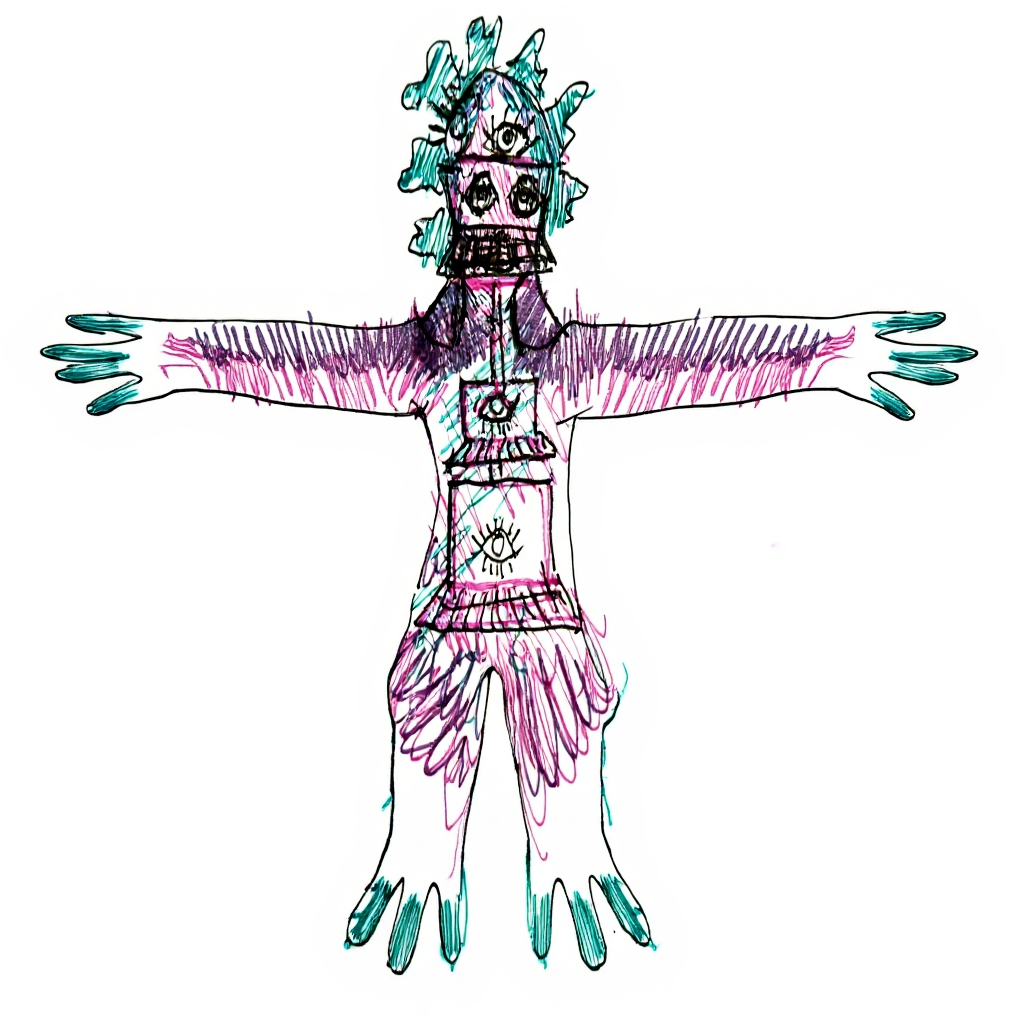
- Design and sketch creatures that reflect a chosen environment
- Photograph your drawings and use Image to 3D tools to build a form
- Animate a simple loop or pose and export to GLB
- Open the model in AR on phones or tablets
Materials
Please bring: your phone
Suggested but not required: tablet or laptop
Provided: computer paper
Nice to bring: patterned paper, sketchbook, colored pens or pencils, stickers, small craft materials
Apps and Tools
- Meshy.ai (paid credits required for downloads)
- AR creator: Artivive
- Additional tools reference: Personal art & animation AI tools list
Two Hour Plan
- Welcome, goals, quick examples — fifteen minutes
- Character design and sketching — thirty minutes
- Image to 3D on devices — thirty minutes
- Animate and export to AR — thirty minutes
- Walk around showcase — fifteen minutes
👇 Scroll down for the complete step-by-step tutorial