Annotation mode is password protected
Creating 3D Models & AR Animations
A Workshop for K-12 Educators
Miami-Dade County Public School Teachers
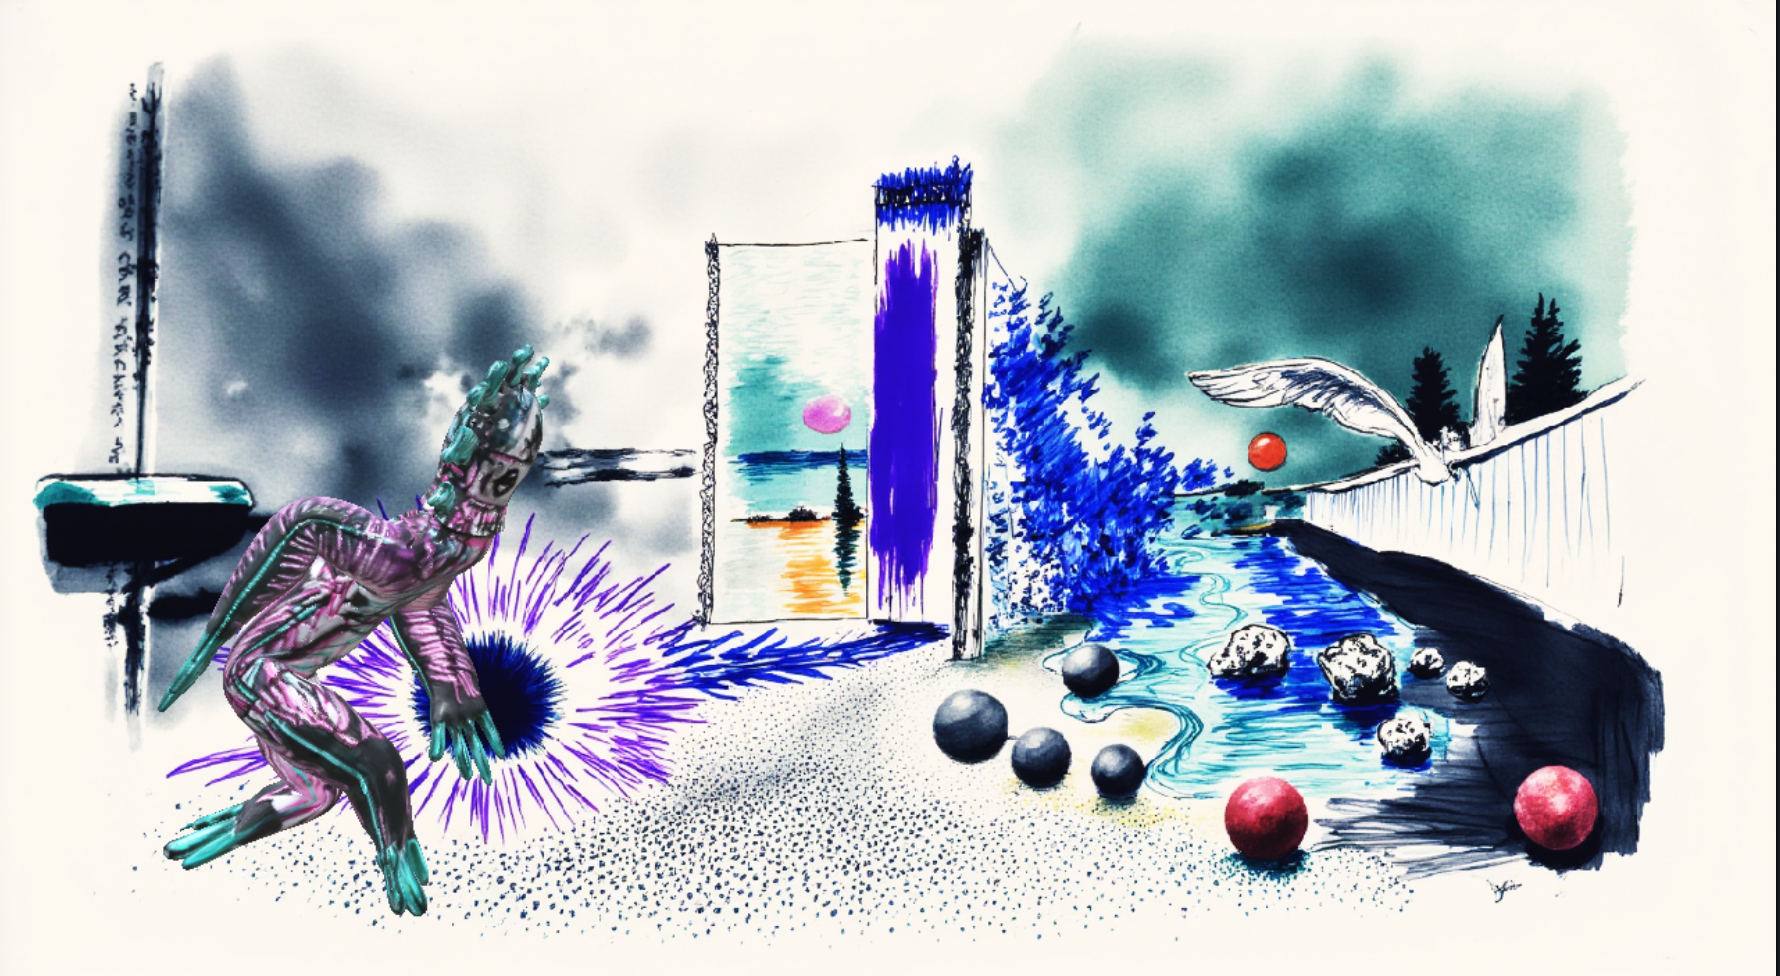
Teachers explore how paper sketches, digital drawings, iPad sketches, Photoshop compositions, marker textures, and drawn designs can become living forms in augmented reality. We begin with imagined environments, design creatures through sketching and layered textures, then use phone or tablet tools to generate simple 3D forms. The result is an animated GLB that can be viewed in AR in the classroom.
Please bring: your phone
Suggested but not required: tablet or laptop
Provided: computer paper
Nice to bring: patterned paper, sketchbook, colored pens or pencils, stickers, small craft materials
👇 Scroll down for the complete step-by-step tutorial
This workshop demonstrates how to create 3D models from hand-drawn images and turn them into AR animations. These techniques can be adapted for various grade levels and integrated into art, design, technology, and interdisciplinary curricula.
Draw a quick sketch of an environment where your creature will live.
Think beyond traditional drawing. Animation environments can be made from anything:
Remember: This environment doesn't need to follow real-world rules. It can be surreal, abstract, or impossible. Let your imagination determine the space.
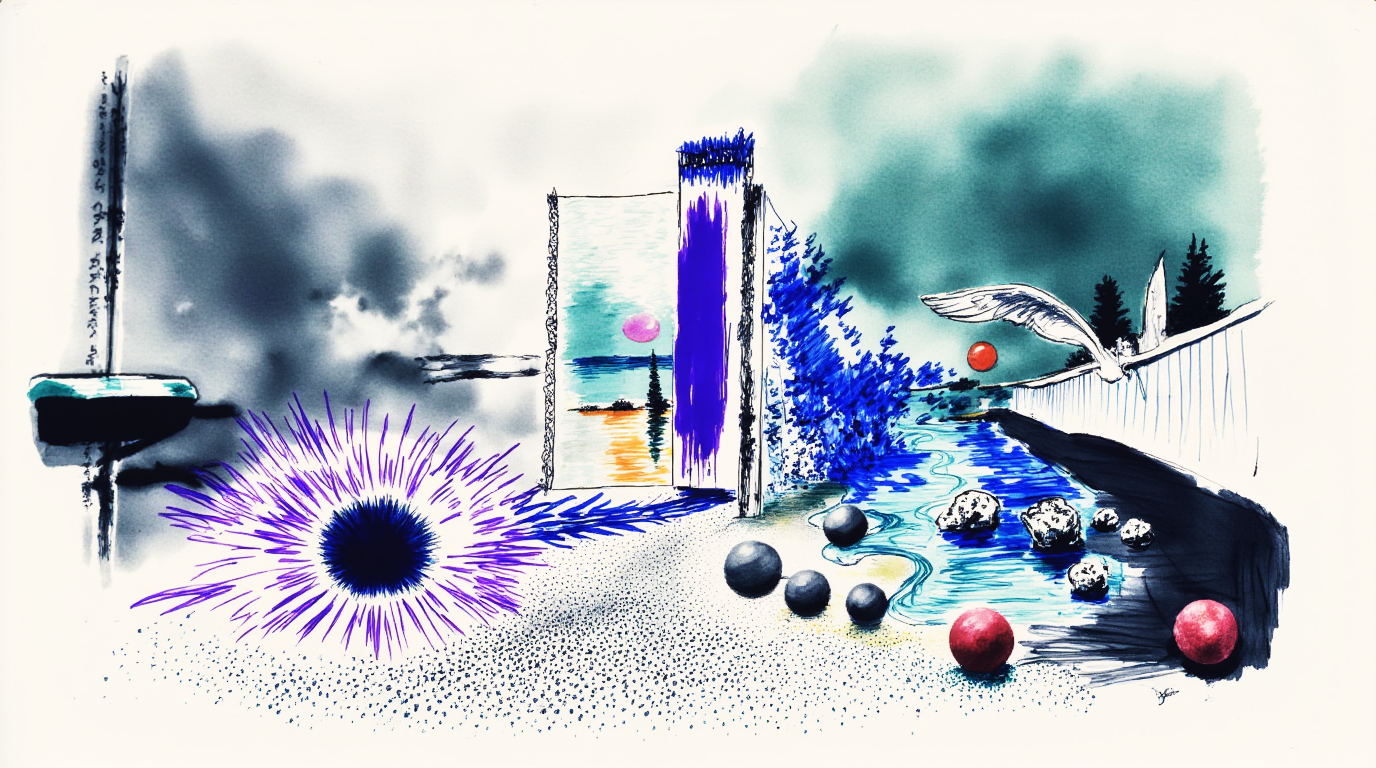
Example: Abstract Environment
Create a creature that lives in this environment.
For this tutorial, we'll create a creature with:
Why symmetrical? It's easier to animate and convert to 3D quickly.
The T-pose is essential for 3D conversion and animation:
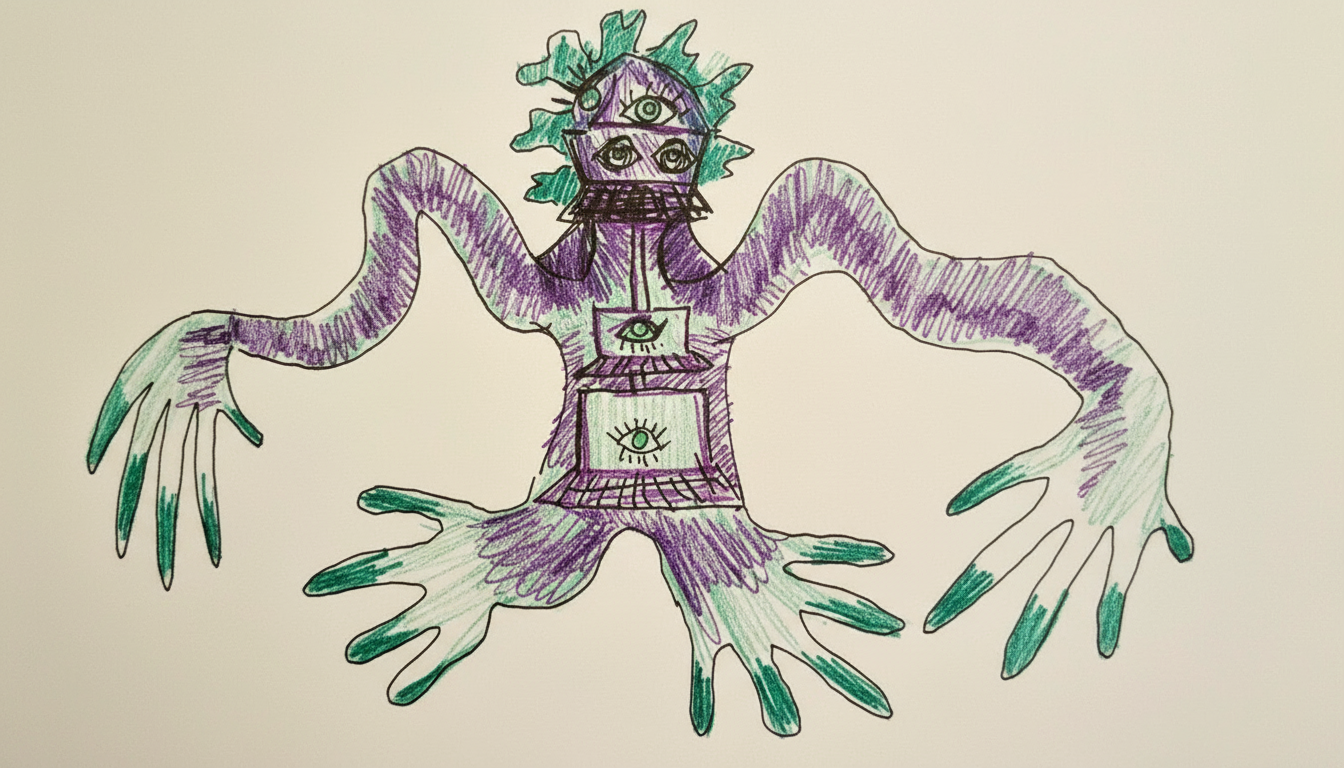
❌ DIFFICULT: Not in T-pose, exaggerated arms, busy background
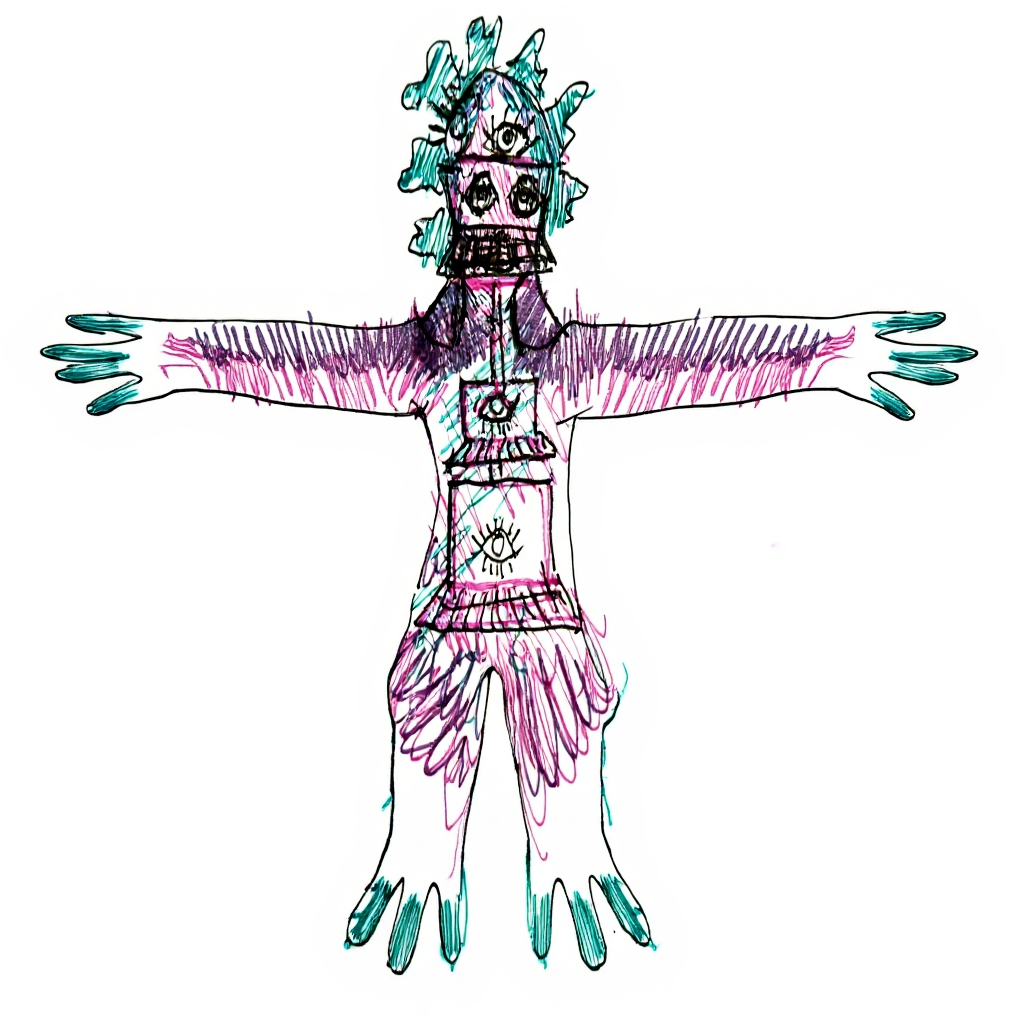
✅ EASY: T-pose, white background, improved brightness/contrast
Pro Tip: If your drawing has a colored background, photograph it, then use a photo editing app to increase brightness/contrast and remove or replace the background with white before uploading to 3D conversion tools.
Take a clear photograph of your creature in T-pose. Make sure the lighting is even and the entire drawing is visible.
Example: Gestural Figure in T-Pose
This creature uses the same gestural, painterly approach as its environment. Notice the T-pose with arms extended, symmetrical body, and how the loose, expressive brushwork gives it character while maintaining the basic structure needed for 3D conversion.
Use AI generators to transform your 2D drawings into 3D models.
There are various image-to-3D AI generators available. Here are some tested options:
Textures are images that get wrapped around 3D models to give them color, detail, and surface properties. Think of a texture like gift wrap on a box—the box (mesh) has a shape, and the wrapping paper (texture) gives it visual appearance. Textures can include color patterns, surface roughness, reflectivity, and other visual details that make a 3D model look realistic or stylized.
A binary version of glTF. Single file containing everything (geometry, textures, animations). Best for web and AR applications. Smaller file size.
JSON-based format with separate files for textures and geometry. More human-readable. Industry standard for web-based 3D. Often called "the JPEG of 3D."
Autodesk's proprietary format. Excellent for animations and rigging. Widely supported in professional software (Blender, Unity, Unreal, Maya). Good for complex projects. Typically downloads as a zip file containing the base untextured mesh along with separate texture files.
Simple, text-based format. Only stores geometry (no animations or rigging). Universally supported. Great for static models. Often comes with an MTL file for materials.
Primarily used for 3D printing. Only stores surface geometry (triangles). No color, texture, or animation data. Simple but limited.
Here is a comprehensive list of free or credit-based AI image-to-3D creators that offer either genuine free access or free credits for new users.
Create 3D models from images or text in seconds, with free usage for basic access or image conversion.
Instantly convert 2D images to 3D models; free credits available for testing without subscription.
Free online converter instantly generates 3D models from single or multi-angle images, customized for creators. No signup required.
Offers free generation of 3D images from text prompts; integrates with Canva's design ecosystem.
Upload any image and generate professional-grade 3D assets; totally free to use with no credit limit mentioned. No signup required.
Generate 3D models from images, doodles, or text, with rapid results and professional quality; supports single image input.
Lets users transform images or text into high quality 3D assets, offering a free platform for creation.
Free service for image to 3D conversion, designed for easy asset generation without costs. No signup required.
Free to use, allowing for unlimited generations (as of early 2025).
Provides 250 free credits on signup for converting images to 3D models; additional paid plans and credits available.
Offers a trial with free credits for turning photos into 3D figures and editing them online.
Fully free, open-source workflow to locally generate 3D models from images; useful for more advanced users and Blender integration. Tutorial video
Allows image-to-3D conversion; basic free access with paid upgrades for advanced features.
Operates on a points system but points are easy to acquire for free use.
Provides 100 free credits upon registration and refreshes 30 free credits daily for image and design tasks.
Option 1: All-in-One Tools
Some tools like Animate Anything handle both 3D conversion AND animation in one platform. This streamlines the workflow but may require paid credits.
Option 2: Two-Step Process
Convert to 3D using one tool (like Meshy.ai, Trellis3D, or Hyper3D), then animate using a separate tool (like Mixamo - see Step 4). This gives you more control over each stage.
Consider testing multiple tools to find what works best for your students. Free options are great for demonstrations, while paid tools may be worth the investment for serious projects. Even a single shared account can help demonstrate the full workflow before students use free alternatives.
After creating your 3D creature, you have several options for adding animation.
Some platforms handle both 3D conversion and animation:
Mixamo Workflow:
Some free 3D conversion tools only export in formats that Mixamo doesn't support (like GLB). Use this free converter to change between formats:
Convert3D: https://convert3d.org/glb-to-obj
Common conversions needed:
Pro Tip: Bookmark this converter! You'll likely need it when working with free 3D tools and Mixamo, as they often use different file formats.
The following auto-rigger tools for 3D models are available completely free or provide recurring free credits for rigging and animation tasks.
Adobe's free online auto-rigging platform, ideal for humanoid characters. Offers unlimited use for uploading, auto-rigging, and downloading animated models in FBX format.
Downloadable desktop tool for quick, high-quality automatic rigging. Totally free to use, supports export to Blender, Unreal, Maya, iClone, etc., and adds full skeleton and finger rigs.
Provides automated rigging (including for non-humanoid models) directly in the browser. Free basic usage lets you auto-rig and animate models with an easy workflow.
Offers free auto-rigging as part of its AI 3D pipeline; supports both rigging and rapid animation tasks at no cost.
Robust physics-based animation suite with strong auto-rigging capabilities. Free tier supports indie artists and education, with AI-driven skeleton and pose setup.
Web-based platform for auto-rigging and animating 3D models for games and metaverse apps; offers a free tier for unlimited usage.
Free beta add-on for Blender aimed at easy auto-rigging, suitable for character artists and quick project needs.
Offers 20 free credits per month for AI rigging and animation on custom 3D characters.
Includes auto-fitting clothing functionality for 3D character rigs, available with a free individual account.
Blender itself offers built-in automatic rigging features for quick skeleton generation in 3D characters, entirely free.
For complete control over your animations, use professional 3D software:
For budget-conscious educators: Create your 3D model using any tool with free credits (like Trellis3D or Hyper3D), then animate it using Mixamo (100% free) on an iPad or laptop/desktop. This combination costs nothing and produces professional results.
Augmented Reality (AR) is a technology that overlays digital content—such as 3D models, animations, images, or information—onto the real world as viewed through a device's camera.
Unlike Virtual Reality (VR), which creates a completely immersive digital environment, AR enhances the real world by adding virtual elements to it. You see your actual surroundings through your phone or tablet screen, but with digital objects appearing to exist in that space.
For artists and animators, AR opens up exciting possibilities: your animated creatures can inhabit real spaces, your artwork can come alive on gallery walls, and viewers can interact with your creations in their own environments.
WebAR (Web-based Augmented Reality) is AR technology that runs directly in a web browser—no app download required.
Unlike traditional AR apps that require installation from an app store, WebAR experiences are accessed through a simple URL or QR code. Users simply open a link in their mobile browser, grant camera permissions, and instantly view 3D content overlaid on their real-world environment.
Think of it like putting a virtual sculpture in someone's living room, except this sculpture can dance, walk, or perform any animation you've created—all viewed through their phone screen as if it's really there.
There are many types of AR experiences you can create, ranging from simple viewers to complex, trigger-based scenes.
These apps allow you to view 3D objects in your space using your phone. They typically operate through QR codes that link directly to your 3D model.
How they work: Scan QR code → Model appears → View from any angle
These platforms let you create entire scenes where real images or objects trigger animations. The AR system first identifies the trigger (like a poster, painting, or specific object), then places your 3D content on top of it or around it.
How they work: Point camera at trigger → System recognizes it → Animation appears and plays
For this demonstration, we'll focus on two platforms that represent different levels of complexity:
1 MONTH FREE of Artivive Pro Plus subscription
Valid for first-time buyers only
Start with Artivive if you want quick results and an intuitive interface. Move to Lens Studio when you're ready for more control and advanced features. Both are excellent tools—it just depends on your comfort level with technology and the complexity of experience you want to create.
Here is a comprehensive list of augmented reality viewer apps that allow you to upload a 3D file stored on your phone and visualize it in your environment.
Artivive is a professional image-triggered AR platform that will be demonstrated during this workshop.
Remember that environment image you created at the very beginning? That's where your creature was from and what shaped its identity. With Artivive, when someone points their phone at that physical artwork, your animated creature appears in its world through AR.
If you're interested in discussing custom education pricing for your school or district, contact Artivive directly:
Karin Gutmaher
karin@artivive.com
Mention Ariel Baron-Robbins and Florida International University (FIU) when reaching out.
Lens Studio is Snapchat's professional AR creation platform - powerful, complex, and completely free.
Workshop leader's learning notes:
View Notion Notes →You can now create custom AR applications using AI-assisted coding - no traditional programming knowledge required.
AI coding assistants have democratized software development. You can create custom AR apps through natural language conversation with AI tools.
"Vibe coding" is a term that describes the process of creating code by describing what you want in natural language to an AI assistant, rather than writing traditional code syntax. Instead of memorizing programming languages, you "vibe" with the AI—explaining your vision, iterating on ideas, and refining the output through conversation.
Why it's called "vibe" coding:
Example: Instead of writing complex HTML/CSS/JavaScript, you might say "Make the background yellow when someone hovers over the button" and the AI generates the code for you.
Teaching students how to "vibe code" is a great way to prepare them for the future of software development. Vibe coding is:
Note: This entire website tutorial you're reading right now was created using vibe coding! I described what I wanted to an AI assistant, refined it through conversation, and created a fully functional educational resource.
Try the custom AR viewing app:
This app was built using Replit's AI assistant through natural language conversation.
Here's how the process works from start to finish:
This abstract environment was created with multicolor inks and mixed media.
The creature shares the same gestural, painterly aesthetic as its environment. Arms are extended in T-pose with symmetrical body structure.
Upload your creature photo to an image-to-3D tool:
Add animation to your 3D model:
Use Artivive or Lens Studio to complete the experience:
The result: Your hand-painted world and its creature exist together in augmented reality!